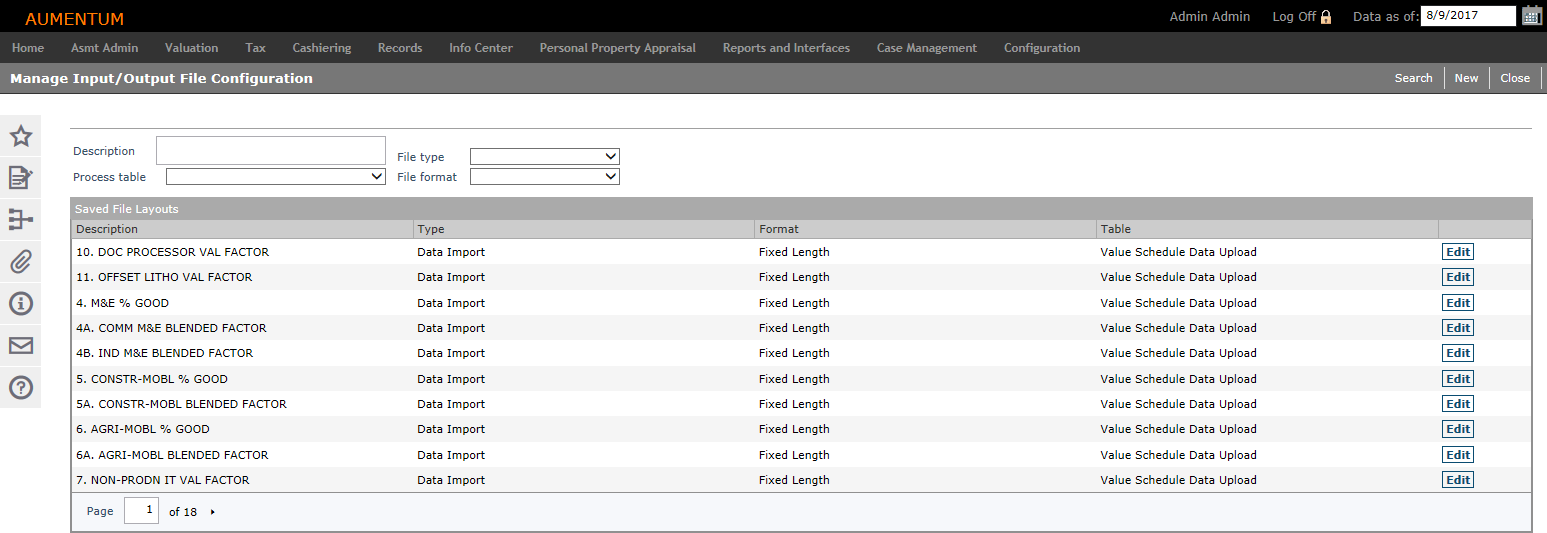
Manage Input/Output File Configuration
Navigate:  Configuration > File Input/Output > Input/Output File Configuration
Description
Search for an existing input/output file layout or add a new one. Data export and import uses file layouts during I/O (input/output) of files. Create a file layout that meets your specific I/O needs, although you can use the same file layout for more than one I/O process.
NOTE: You cannot run or schedule a process that is already in the system from this screen. You will need to run Individual processes within their respective modules tasks and screens.
Steps
-
On the Manage Input/Output File Configuration screen, enter search criteria and click Search to filter the Saved File Layouts grid (optional).
-
Click Edit for an item in the grid, or click New in the Command Item bar.
-
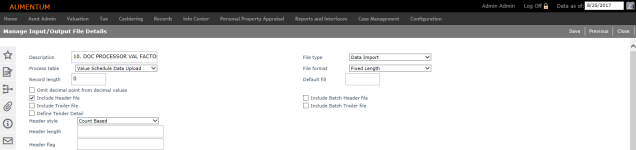
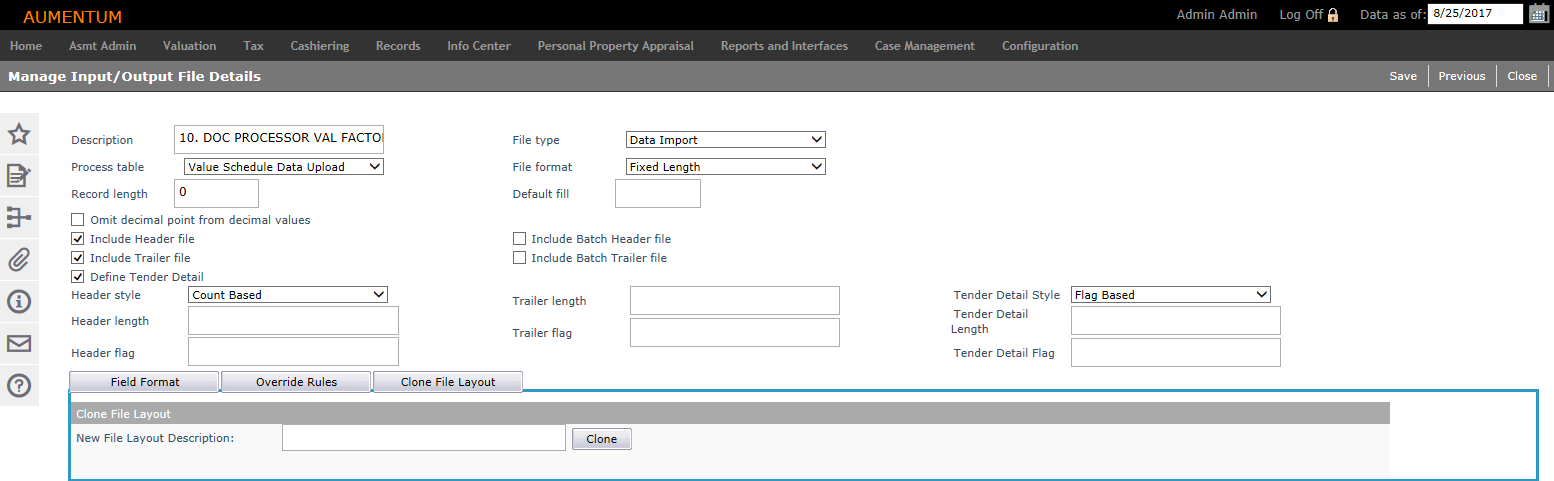
On the Manage Input/Output File Details screen, enter or edit a brief description to identify the file layout. This description is used later in the process.
-
Make a selection from the File type drop-down list.
-
Make a selection from the Process table drop-down list. The available process table selections depend on the selected file type.
If you are modifying an existing layout, the process table cannot be changed unless all defined fields for that layout have been removed.
NOTE: If your file configuration is set up as an export, a blank process table selection is available. This allows you to set up a field that will use whatever the default value or the fill character is for the space provided.
-
Make a selection from the File format drop-down list.
-
If you select character delimited format, make a selection from the Text qualifier and Field delimiter drop-down lists.
-
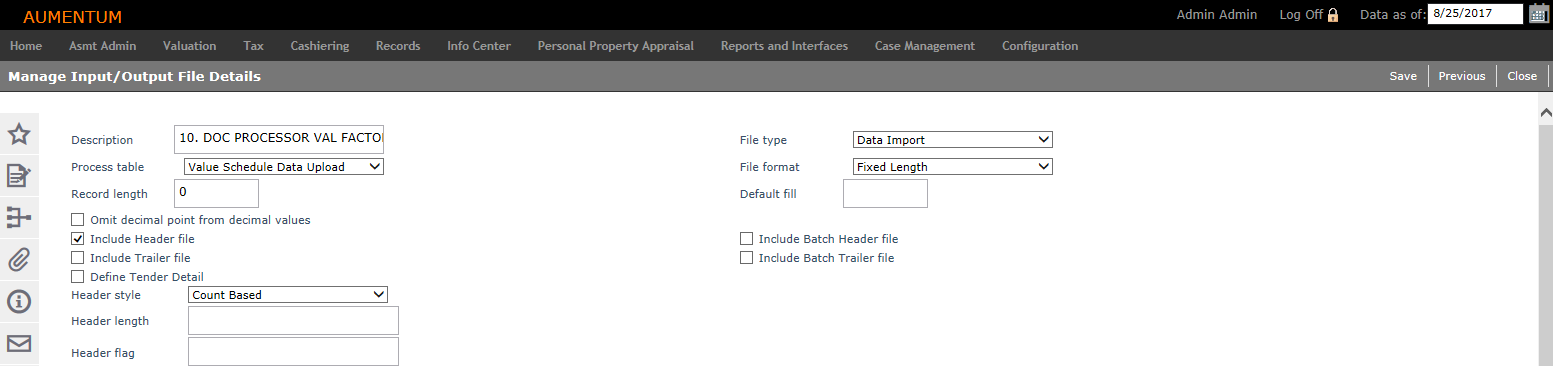
If you select fixed length format, enter the record length and default fill. If the default fill is left blank, an empty space will be used as the fill.
-
-
If the file contains implied decimals, select the Omit Decimal point from decimal values checkbox.
-
If you select the Include Header File checkbox, the Header style, Header length and Header flag fields appear. Also, the File Layout and Field Information and Header Detail panels are displayed.
-
Select the header style, and enter the header length and header flag.
-
In the File Layout and Field Information panel, click Add to insert another row. Enter a sequence number and make a selection from the Row Type drop-down list.
-
Click Apply to save your changes. Or, click Cancel to delete the row without saving your changes.
-
-
In the Header Detail panel, click Add to insert another row. Define the data for each field as applicable.
-
Click Apply to save your changes. Or, click Cancel to delete the row without saving.

NOTE: Aumentum does not require that the header, trailer, and payment detail information be maintained within the same field information grid for lockbox payment file layouts.
-
-
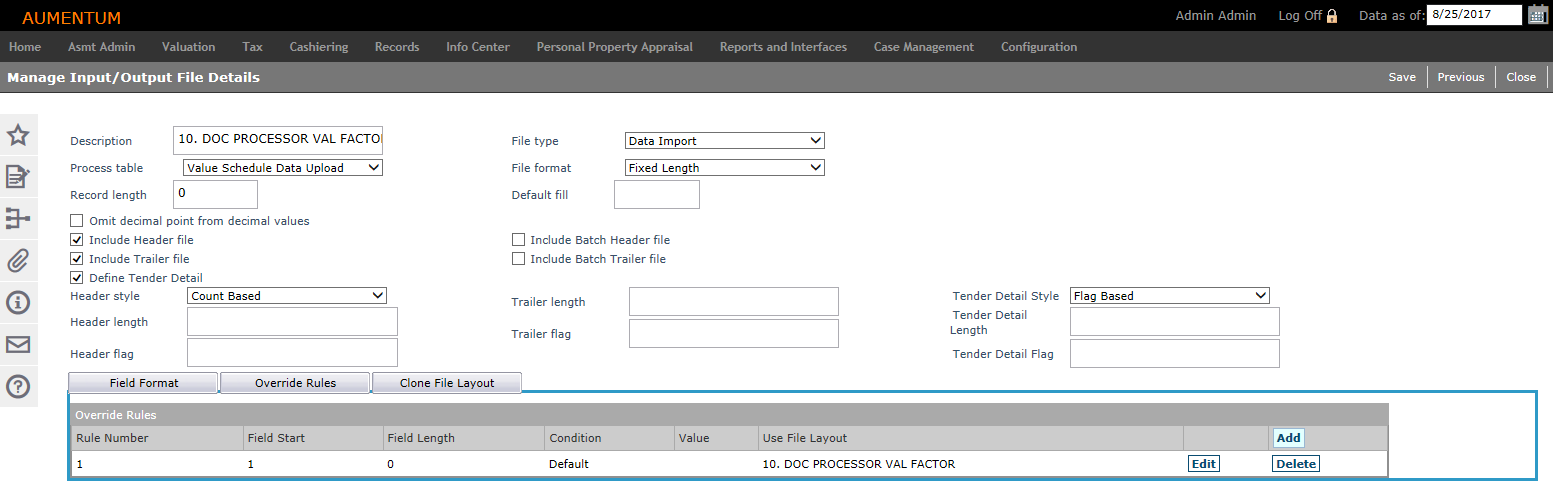
If you select the Include Trailer File checkbox, the Trailer length and Trailer flag fields appear. Also, the File Layout and Field Information and Trailer Detail, panels are displayed.
-
Enter the trailer length and trailer flag.
-
In the Trailer Detail panel, click Add to insert another row. Define the data for each field as applicable.

-
Click Apply to save your changes. Or, click Cancel to delete the row without saving.
-
-
If you select the Define Tender Detail checkbox, you can specify a payment file layout that accepts multiple tenders and multiple stubs within one collection. The Tender Detail Style drop-down list and the Tender Detail Length and Tender Detail Flag fields are displayed. Also, the File Layout and Field Information and Tender Detail panels are displayed.
NOTE: The Define Tender Detail checkbox and associated fields may not apply to your jurisdiction.
-
Make a selection from the Tender Detail Style drop-down list
-
Enter the tender detail length and tender detail flag.
-
In the Tender Detail panel, click Add to insert another row. Define the data for each field as applicable.

-
Click Apply to save your changes. Or, click Cancel to delete the row without saving.
-
-
Select the checkbox for Include Batch Header file and/or Include Batch Trailer file to include them in the I/O file.
-
In the File Layout and Field Information panel, enter a sequence number and make a selection from the Row Type drop-down list. Click Apply.
-
In the Batch Header Detail and Batch Trailer Detail panels, click Add. Or click Edit next to a row.
-
The No. field indicates the sequence of the field in the file.
NOTE: for character-delimited files, the field sequence is based on the order the fields were added to the grid. For fixed length files, the start position of each field dictates the sequence.
-
Select a field type. Most fields are defined as Detail Record.
If you selected to include a header file, you must specify a field type of Header Record; for a configuration file containing a trailer file, you must specify a field type of Trailer Record.
-
Select a process field. The field list is filtered by the process table selected at the top of the screen. A process field must be specified for both delimited and fixed-length fields.
-
If needed, enter a format string. Valid values can be any formation string used by .NET.
IMPORTANT: If you are entering a format string for minutes, month, or year, you must follow this specific format, adhering to initial caps for month:
-
m = minute from 0 to 59
-
mm = minute from 00 to 59
-
M = month from 1 to 12
-
MM = month from 01 to 12
-
MMM = abbreviated name of month (e.g., Jan)
-
-
Specify a start position and field length. These are required for fixed length configurations and can be left blank for delimited.
-
Enter the optional Fill for the field. This value is used to fill up the space defined for a field if no data is present (used only in fixed-length exports). The value specified here will override the default fill defined above, which is used globally for all fields.
-
Select the Align right checkbox if data in the field should be aligned from right to left. Clear the checkbox to have the data aligned from left to right. This only applies to fixed-length configurations.
-
Optionally, enter a default value. This value is used when no data is present for a field in either an import or export.
-
Enter a flag value for the detail record. Detail flags are usually one character long and always start at the beginning of the row.
-
If the field is to be included in a detail count, select this checkbox; otherwise, clear the checkbox.
-
Click Apply to save your changes for each row in the grid, and return to the previous step for additional rows
-
-
Click the Override Rules tab.
-
Click Add. Or click Edit on an existing rule.
-
Enter or select the relevant information
-
Click Apply.
-
Click Delete on any row to remove an existing rule.
-
-
Click the Clone File Layout tab.
-
Enter a description in the New File Layout Description field.
-
Click Clone. A message displays at the top of the screen indicating the layout has been cloned.
-
Click Save.
-
Click Previous to return to the Manage File Input/Output File Configuration screen.
-
Click Close to end the task.
-


Tips
Batch Collections processes are available in the Accounts Receivable module. Go to Tax > Accounts Receivable > Batch Collections to select a process to run or schedule for a future date. See Batch Collections for information on using this task and for a list of all the batch collections processes available in the system.
Several process fields have been modified to use generic names. The name changes were made because the actual data that is exported is dependent upon the mapping setup, rather than being hardcoded to specific fields. These process fields require mapping setup in order to function. Without the mapping, no data is exported for these fields. For new implementations, the configuration of the mapping should be performed first, then the configuration of the File I/O layout. No changes are required to existing mappings or layouts in order for them to continue to function. See the Batch Collections Data Export - Generic File IO Process Fields document for a listing of the changes and associated mappings. Contact your Aumentum Support representative for more information on process fields and mappings.